Stage 1 - Prep and Rear End.
I thought it'd be ok to just MOT the car and then drive it but it highlighted
one or 2 rust spots..
Instead of just patching it up I thought I'd replace everything and paint the
whole car again.
When removing the running boards and wings, a lot of the bolts either sheered
off, of the captive nut in the car sheered off... Sills can be replaced, but
the wing boltings were to be a problem...
Also on the replacement list were, The rear Bumper mount, The spare wheel well
and the bottom Door Hinges.
(When I say
I did, I mean with the help from some friends.
Jon Lockyer
for the welding and Adi for his paint Job)
--------------------------------------------------------
From here on in when I say WE I mean myself and
Jon Lockyer.
My older Brother Kindly lent me the use of his garage to do this work. "Er...
It'll take about a week Dave...." yeah right!! :-)
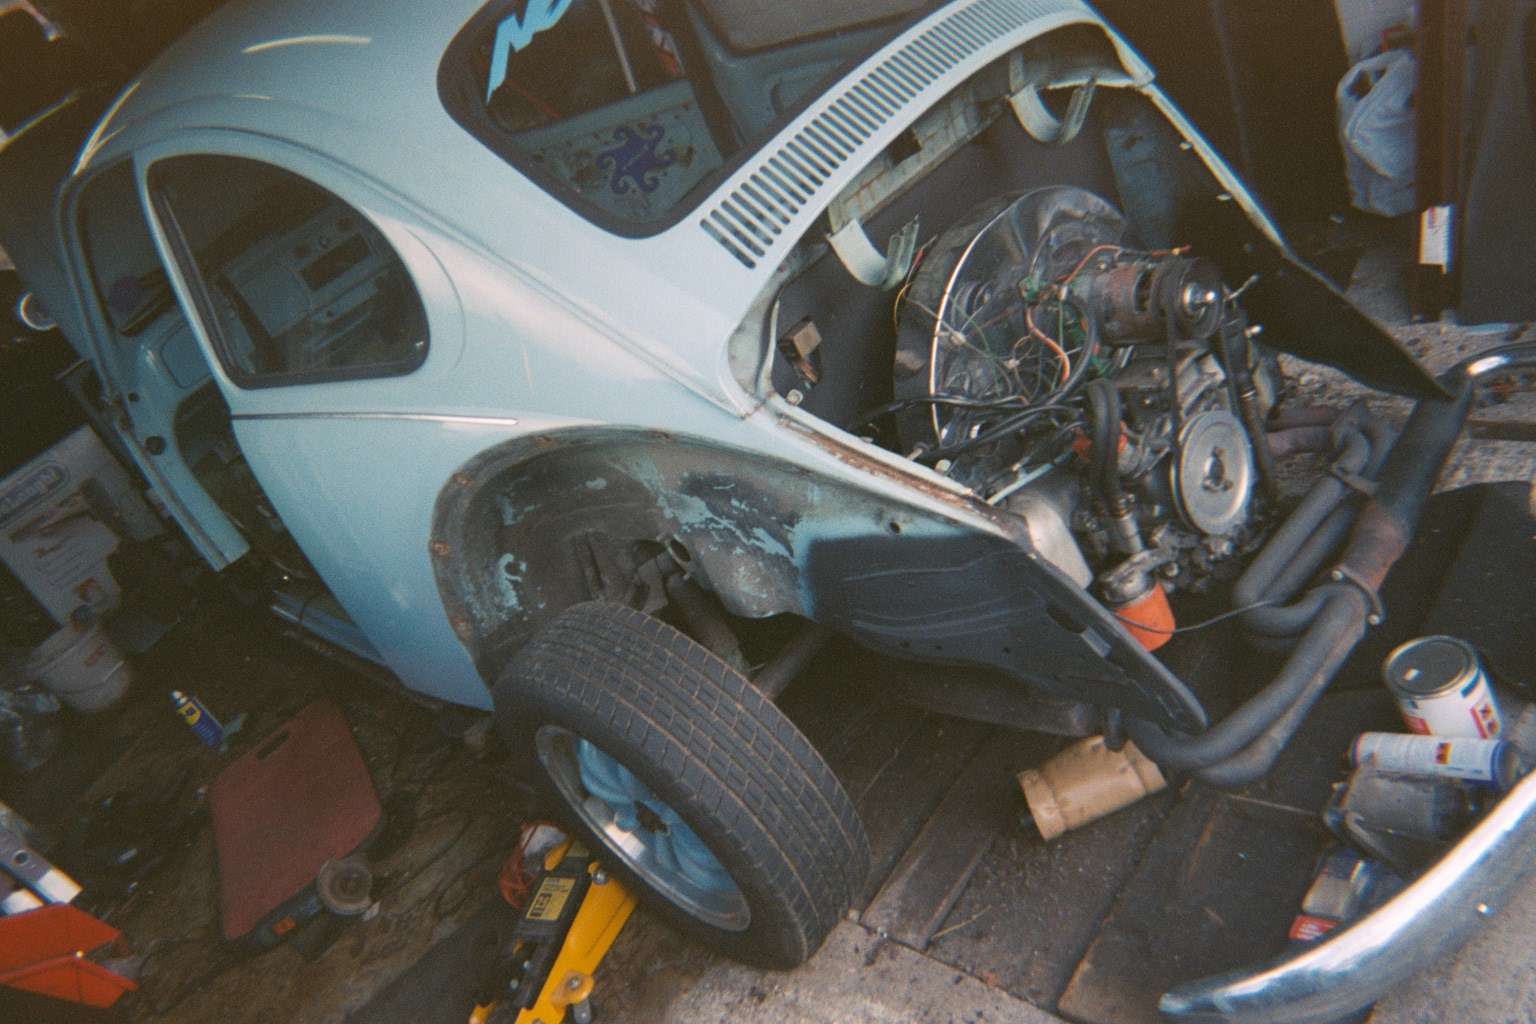
To start things off the car was stripped of all wings and bumpers and the
interior was ripped out.
We decided to start at the back so the rear apron was cut off along with the
bumper mounts. I had a new rear apron coming as I was changing the Bootlid for
a Long Decklid.
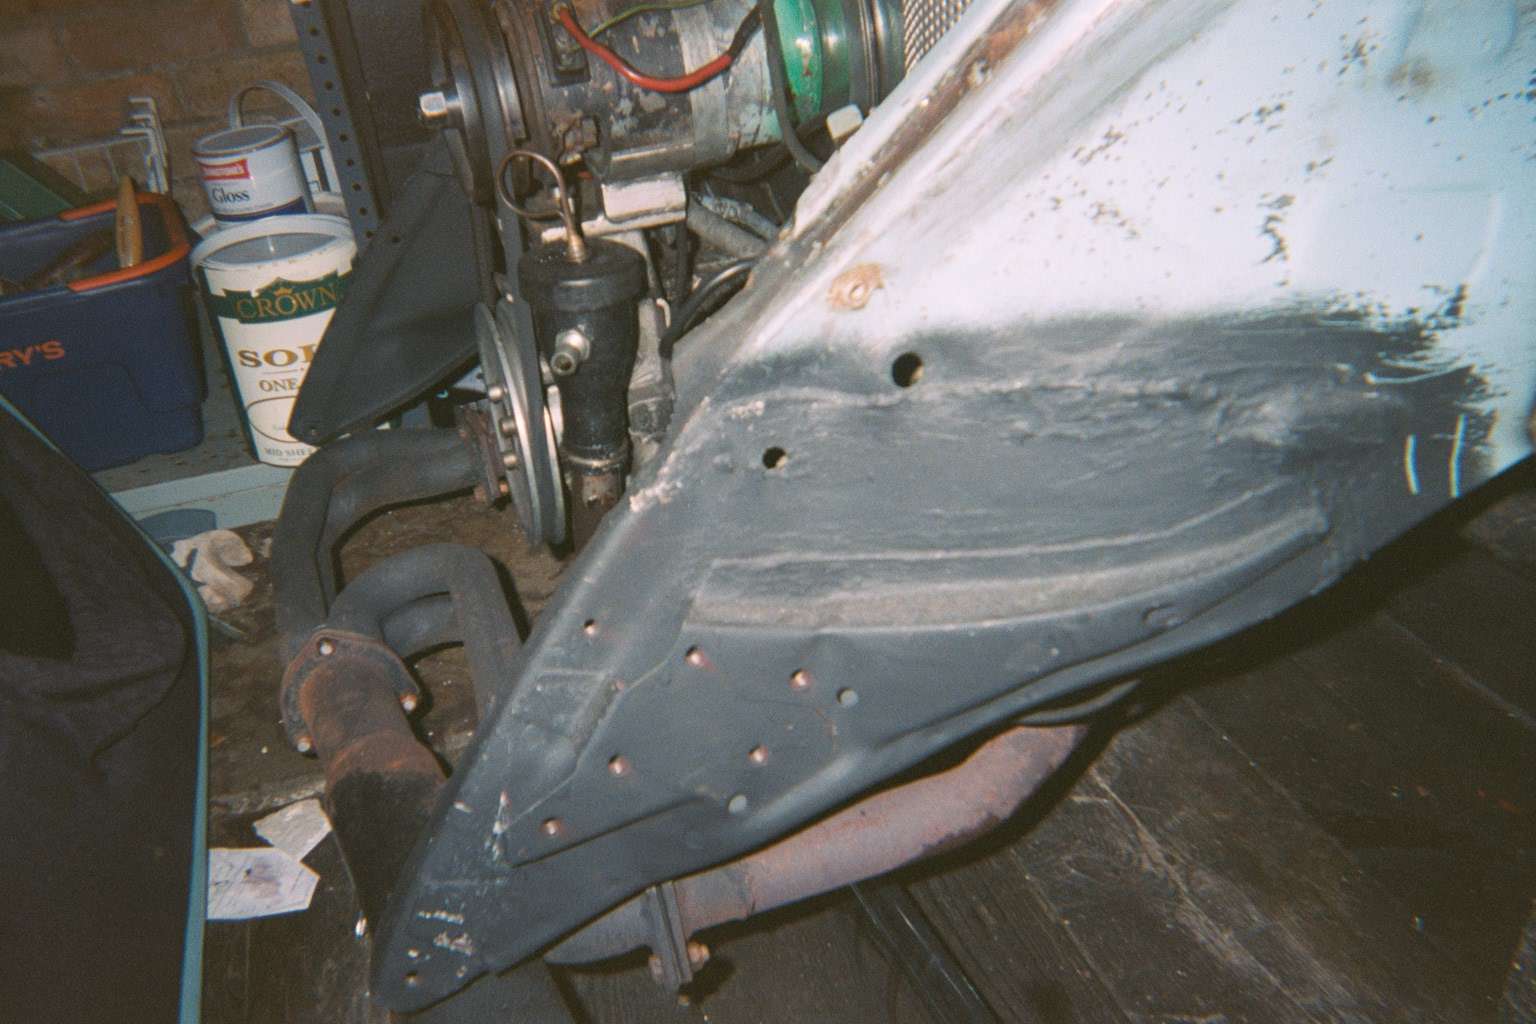
Then the new pattern parts were welded in.
We didn't weld the new apron on as it hadn't turned up yet, but I had the idea
that I wanted it to be a removable item and not welded as it meant engine
removal was SO much easier. Just look at the pictures and see how much easier
it is. Before, you had to lift the car really high to get the rear apron to
clear the engine.
And so we move down the car towards the front. The sills were next...
See you on page 2.
--------------------------------------------------------